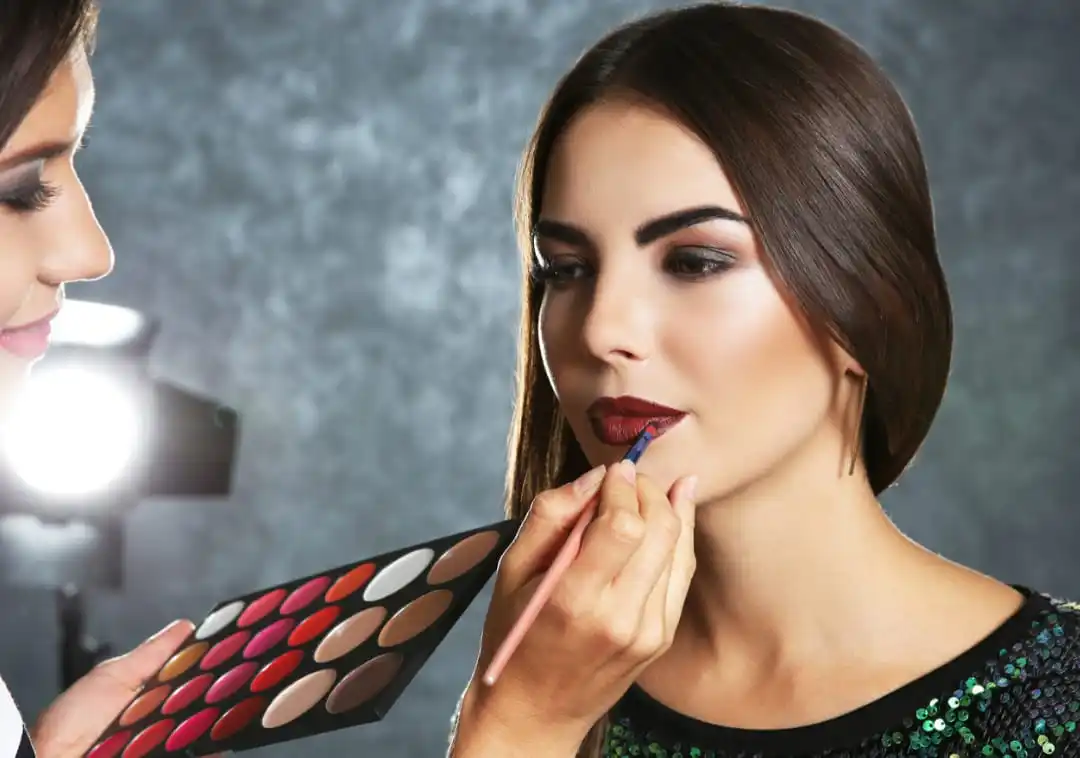
Makeup plays a significant role for women in both their personal and professional lives. Stress and daily routines work is main cause of skin dullness, but now you can achieve a flawless finish with our concise guide on how to apply makeup in correct order and with proper skin care, you can enhance your face features and achieve a fresh look that boosts your confidence. Remember that makeup should complement your natural beauty rather than conceal it.
Benefits of Following Makeup Steps
- Just like every task has a specific method and certain rules to follow, makeup also has its own set of steps Just as a painter prepares their canvas before starting a painting, similarly, the skin is prepared before applying makeup.
- There are some steps for this preparation. After that, products are applied step by step to achieve a stunning look.
- Each makeup product has its own purpose and a specific way of use, which is important to understand.
- Ahead, you’ll find complete details that will help you correct any mistakes you might be making while applying makeup.
Prepare Your Skin For Makeup
Step 1: Cleansing for Flawless Makeup
Step 2: Toning for Balancing Your Skin’s pH
Step 3: Moisturizing keep Hydrated skin
Step 4: Primer is key of Essential Base for Long-Lasting Makeup
Step 1: Cleansing For Flawless Makeup
- The first step in prepping your skin for makeup is cleansing.
- This essential step ensures that your skin is free from dirt, oil, and any impurities that could interfere with your makeup application.
- Use a gentle cleanser suitable for your skin type to remove all traces of grime.
- Cleansing not only creates a clean canvas for your makeup but also helps prevent clogged pores and breakouts.
- Think of it as laying the foundation for a smooth and flawless finish.
Step 2: Toning For Balancing Your Skin’s pH
- After cleansing, toning is the next crucial step.
- Toning helps to restore your skin’s natural pH balance, which can be disrupted during the cleansing process. It tightens your pores, refreshes your skin, and prepares it to better absorb the following skincare products.
- Choose a toner that suits your skin type—whether it’s hydrating, soothing, or clarifying—and gently apply it using a cotton pad or by patting it directly onto your skin.
Step 3: Moisturizing To Keep Skin Hydrated
- Moisturizing is key to keeping your skin hydrated and plump, which is essential for smooth makeup application.
- Even if you have oily skin, moisturizing is non-negotiable.
- A good moisturizer helps to create a smooth base, preventing makeup from clinging to dry patches or settling into fine lines.
- Opt for a lightweight, non-greasy moisturizer for daytime use, especially if you plan to layer it under makeup.
Step 4: Primer The Essential Base For Long-Lasting Makeup
- Primer is the final step in skin preparation, and it’s what makes all the difference in achieving long-lasting makeup.
- A primer creates a barrier between your skin and makeup, helping your foundation adhere better and stay put throughout the day.
- It also smooths out your skin’s texture, filling in pores and fine lines, which enhances the overall look of your makeup.
- Depending on your skin type and concerns, you can choose a mattifying primer, a hydrating one, or a color-correcting formula.
- Applying primer ensures your makeup looks flawless and lasts much longer.
Apply Makeup In Correct Order
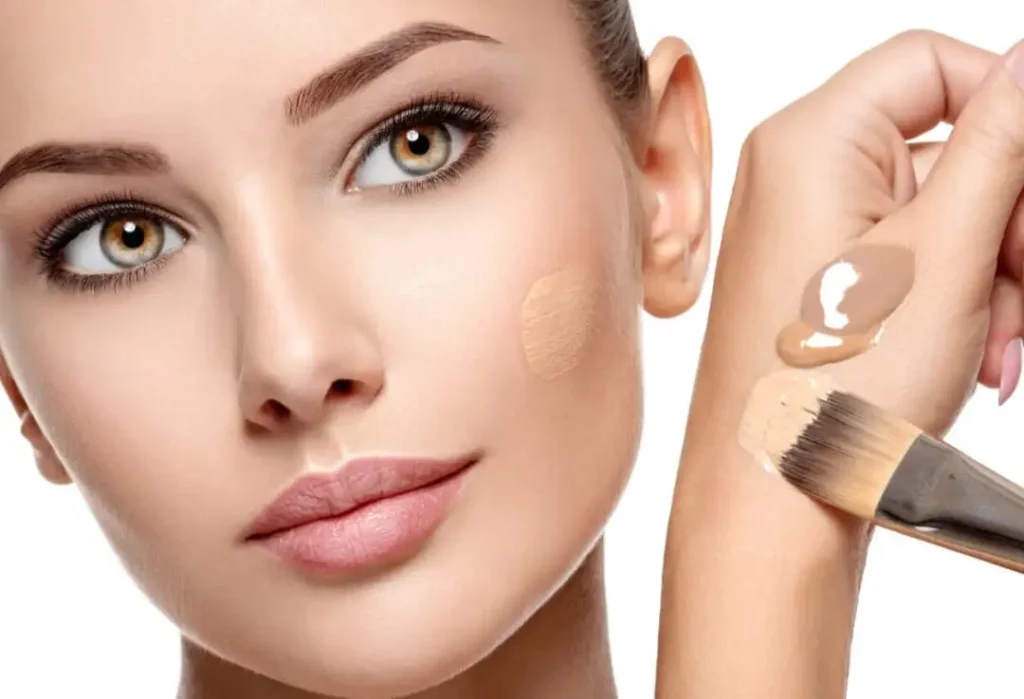
Step 1: Applying Foundation
- Choosing the Right Foundation for Your Skin Type Selecting the right foundation is crucial for achieving a flawless look.
- Start by identifying your skin type—whether it’s oily, dry, combination, or sensitive.
- Foundations come in various formulas, such as liquid, powder, cream, and stick, each catering to different skin types and preferences.
- For oily skin, a mattifying or oil-free foundation helps control shine. For dry skin, a hydrating or creamy foundation provides moisture and a dewy finish.
- If you have combination skin, look for a foundation that balances both oily and dry areas. Ensure the shade matches your skin tone precisely by testing samples on your jawline or wrist.
How To Apply Foundation For An Even Finish
- To achieve an even foundation application, start with a clean, moisturized face.
- Use a primer to smooth the skin’s surface and help the foundation adhere better.
- Apply the foundation in small dots across your face—on the forehead, cheeks, nose, and chin.
- Use a makeup sponge, brush, or your fingers to blend the foundation outward from the center of your face.
- Start with a small amount of product and build coverage gradually to avoid a heavy or cakey appearance.
- Ensure you blend well along your jawline and neck to avoid harsh lines.
Blending Techniques For A Natural Look
- Blending is key to a natural-looking foundation.
- Use a damp makeup sponge for a seamless finish—dab the sponge over your face using a bouncing motion to blend the foundation into your skin.
- For a more polished look, use a foundation brush with circular motions to blend the foundation evenly.
- Pay extra attention to blending around the hairline, jawline, and ears to avoid noticeable lines.
- For a flawless finish, gently press the sponge over areas where the foundation might settle, such as around the nose and chin.
- This technique ensures that the foundation merges seamlessly with your skin, giving you a smooth and natural appearance.
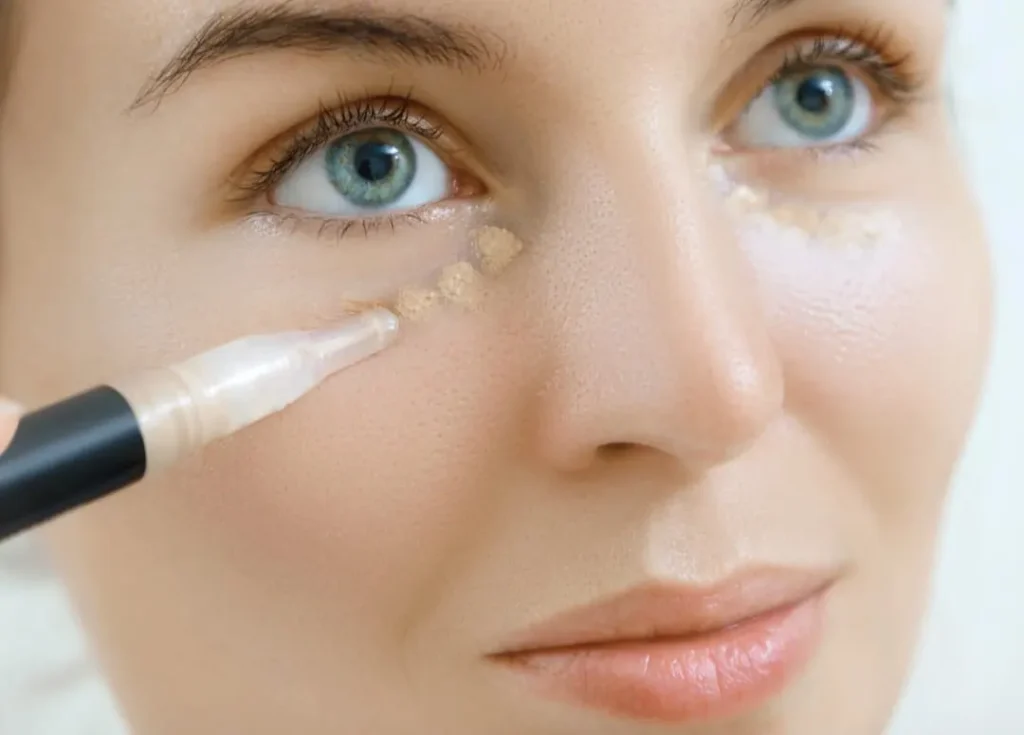
Step 2: Using Concealer In Makeup
Choose The Right Concealer
- Concealers are used to cover imperfections, dark circles, blemishes, and other skin flaws.
- There are different types of concealers designed for specific issues, such as liquid concealers for covering dark circles, cream concealers for blemishes, and stick concealers for more coverage.
Match Your Skin Tone
- For covering blemishes or redness, choose a concealer that matches your skin tone.
- This helps in blending seamlessly with your foundation.
- For under-eye circles, a shade slightly lighter than your foundation can brighten the area and counteract dark tones.
Consider The Formula
- Different formulas suit different skin types.
- Liquid concealers are great for dry or mature skin because they are hydrating.
- Cream or stick concealers offer more coverage and are suitable for oily skin. Choose a formula that fits your skin type and the areas you want to conceal.
Test Before Buying
- Always test the concealer in natural light to ensure it blends well with your skin.
- Apply a small amount on your jawline or wrist to see how it matches and if it blends easily
How To Apply Concealer
Use The Right Tools
- Depending on the formula, use a brush, sponge, or your fingers to apply concealer.
- Brushes are great for precise application, sponges for blending, and fingers for warmth and easy application.
Apply To Problem Areas
- For blemishes, use a small brush or your fingertip to apply concealer directly onto the spot.
- For dark circles, apply the concealer in a triangular shape under the eyes, extending it towards the temples.
Layer For Coverage
- If needed, build up coverage by applying a thin layer of concealer and blending it out.
- Avoid applying too much at once to prevent a cakey appearance.
Blending Methods For A Natural Look
Use A Makeup Sponge
- A damp makeup sponge is ideal for blending concealer.
- Gently pat the sponge over the concealed area using a bouncing motion to blend the edges seamlessly into your foundation.
Blend with Your Fingers
- For a more natural finish, use your ring finger to tap and blend the concealer.
- The warmth of your finger helps in blending the product smoothly and evenly.
Brush Techniques
- If using a brush, use gentle, circular motions to blend the concealer.
- For precision, use a small, flat brush to apply and a fluffy brush to blend out the edges.
Set With Powder
- To ensure your concealer stays in place and doesn’t crease, lightly set it with a translucent setting powder.
- Use a small brush or sponge to apply the powder, gently pressing it into the skin to avoid disturbing the concealer.
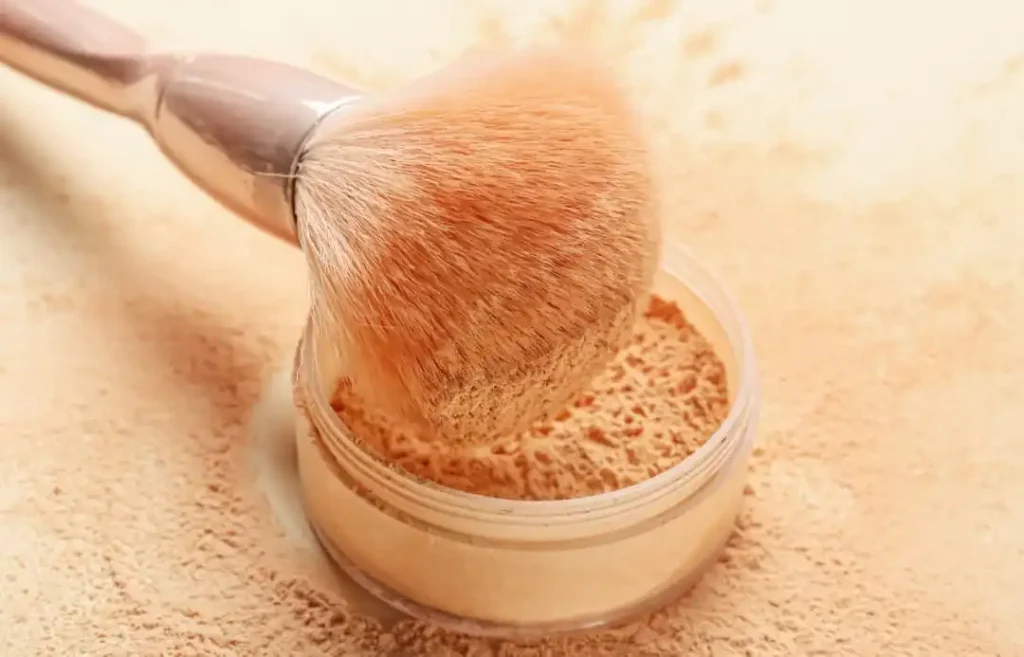
Step 3: Set Your Base With Setting Powder/ loose Powder
The Importance Of Setting Powder
Locks Concealer In Place
- Setting powder is essential for ensuring that your concealer stays in place throughout the day.
- It helps to set the concealer, preventing it from shifting or creasing, and maintains the coverage of imperfections.
Reduces Shine
- Setting powder absorbs excess oil and helps control shine, especially in areas prone to oiliness like the T-zone.
- This keeps your makeup looking fresh and matte.
Prevents Creasing
- Applying setting powder helps to smooth out the appearance of fine lines and wrinkles, reducing the likelihood of concealer settling into these lines and creating a creased effect.
Enhances Makeup Longevity
- By setting the concealer and foundation, setting powder increases the longevity of your makeup, ensuring that it lasts throughout the day without needing frequent touch-ups.
How To Apply Setting Powder
Choose The Right Powder
- Select a translucent setting powder that matches your skin tone and is suitable for your skin type.
- Translucent powders are versatile and work for most skin tones, providing a natural finish without adding extra color.
Prepare Your Skin
After applying concealer, allow it to set for a few minutes before applying setting powder. This ensures that the concealer is dry and less likely to move during the powder application.
Use A Powder Puff Or Brush
- For precise application, use a powder puff or a small, fluffy brush.
- A powder puff is ideal for pressing the powder into the skin, while a brush is great for lightly dusting it on.
Apply A Small Amount
- Lightly dip your puff or brush into the setting powder and tap off any excess.
- Applying too much powder can lead to a cakey finish.
Press The Powder Onto The Skin
- Gently press the powder onto areas where you applied concealer, using a patting motion.
- For under-eye areas, use a small, soft brush or the tip of a makeup sponge to apply the powder.
- Pressing rather than sweeping helps to set the concealer without disturbing it.
Blend And Smooth
- After pressing the powder in, use a clean, fluffy brush to lightly blend and smooth out any excess powder.
- This helps to ensure that the powder is evenly distributed and that there are no visible lines or patches.
Focus On Key Areas
- Pay extra attention to areas prone to creasing or oiliness, such as under the eyes, around the nose, and the forehead.
- Applying a bit more powder in these areas can help to control shine and prevent creasing.
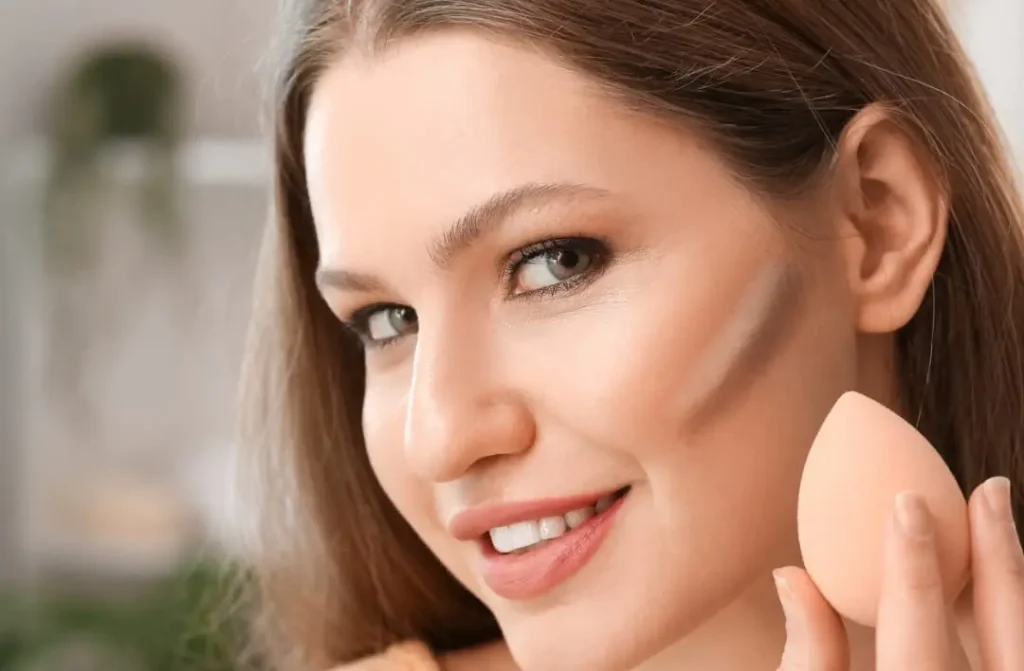
Step 4: The Importance of Contouring
Defines Facial Features
- Contouring enhances and defines your facial features by creating shadows and highlights.
- It can emphasize cheekbones, slim the nose, and define the jawline, helping to sculpt the face and give it a more structured appearance.
Adds Dimension
- Contouring adds dimension to the face, making it look more three-dimensional and less flat.
- This contrast between light and dark areas helps to create a natural-looking depth and dimension.
Enhances Makeup
- Proper contouring can enhance the overall makeup look by providing a polished and professional finish.
- It helps to balance out other makeup elements and ensures a cohesive appearance.
Customizable
- Contouring can be customized to suit different face shapes and personal preferences.
- Whether you want a subtle enhancement or a dramatic effect, contouring can be tailored to achieve the desired result.
How To Apply Contouring
Choose The Right Products
- Select a contouring product that is a few shades darker than your skin tone for the contour and a highlighter that is a few shades lighter.
- Contour products can be cream, powder, or stick formulas.
- Ensure that both products blend well and suit your skin type.
Identify Contour Areas
- Contour the areas of your face that you want to define and shape.
- Common areas to contour include:
Cheekbones: Apply contour along the hollows of your cheeks.
Jawline: Apply contour along your jawline to define and slim.
Nose: Apply contour along the sides of your nose to create a slimmer appearance.
Forehead: Apply contour along the hairline to reduce the appearance of a high forehead.
Apply Contour
- Using a contour brush or a makeup sponge, apply the contour product to the areas identified.
- Use light, sweeping motions to apply the contour product, starting from the hairline or temples and working inward.
Blend Well
- Blending is key to achieving a natural look.
- Use a clean makeup sponge or brush to blend the contour product into your foundation.
- Make sure there are no harsh lines and that the contour seamlessly merges with your skin.
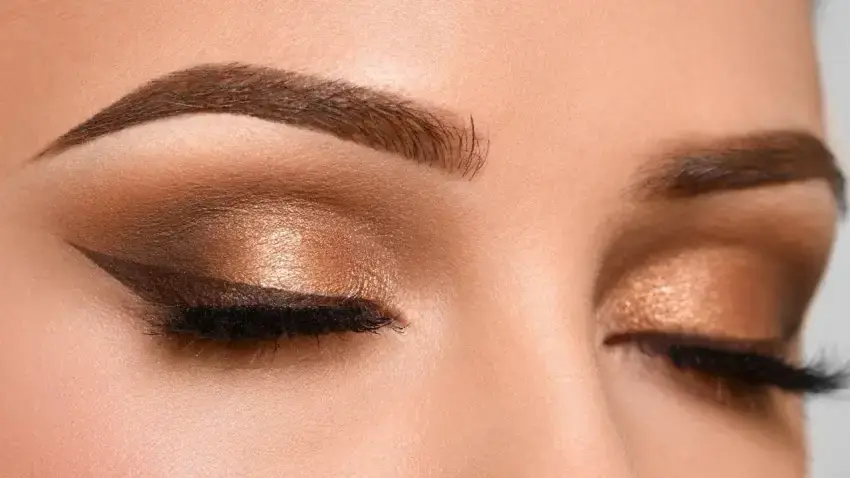
Step 5: Perfecting Your Eyes
Choosing Eye Shadow Colors
- Start by selecting eyeshadow colors that complement your eye color and overall look. Neutral tones like browns and taupes are versatile for everyday wear, while bold colors can create a more dramatic effect. Choose lighter shades for highlighting the brow bone and inner corners, medium shades for the eyelid, and darker shades for adding depth to the crease.
Application Techniques
- Begin by applying a primer to your eyelids to ensure the eyeshadow stays in place. Apply the lightest shade first to highlight, then sweep a medium shade across the eyelid. Use a darker shade in the crease of your eye, blending it well to create depth. For a smoky effect, blend the darkest shade along the upper and lower lash lines. Always blend the colors seamlessly to avoid harsh lines.
How To Apply Eyeliner
Choosing Your Eyeliner
- Decide on the type of eyeliner—pencil, gel, or liquid—based on the look you want to achieve. Pencils are great for a softer, smudged look, while gel and liquid liners offer more precision and drama.
Application Tips
- Start at the inner corner of your eye, drawing a thin line close to the lash line. Gradually thicken the line as you move towards the outer corner for a more dramatic effect. For a winged look, extend the line slightly past the outer corner and flick it upwards. If you prefer a subtle look, keep the line thin and close to the lashes.
Mascara: Adding Volume And Length To Your Lashes
Choosing The Right Mascara
Select a mascara that suits your needs—volumizing for thicker lashes, lengthening for added length, or a combination for both effects. Waterproof mascaras are great for long wear, but can be harder to remove.
Application Techniques
Start by curling your lashes with an eyelash curler for a lifted look. Apply mascara from the base of your lashes, wiggling the wand slightly as you move upwards to coat each lash evenly. Apply a second coat for more volume, focusing on the outer lashes for a wide-eyed effect. Use the tip of the wand to reach the smaller lashes in the inner corners. To avoid clumping, let the first coat dry slightly before applying the second.
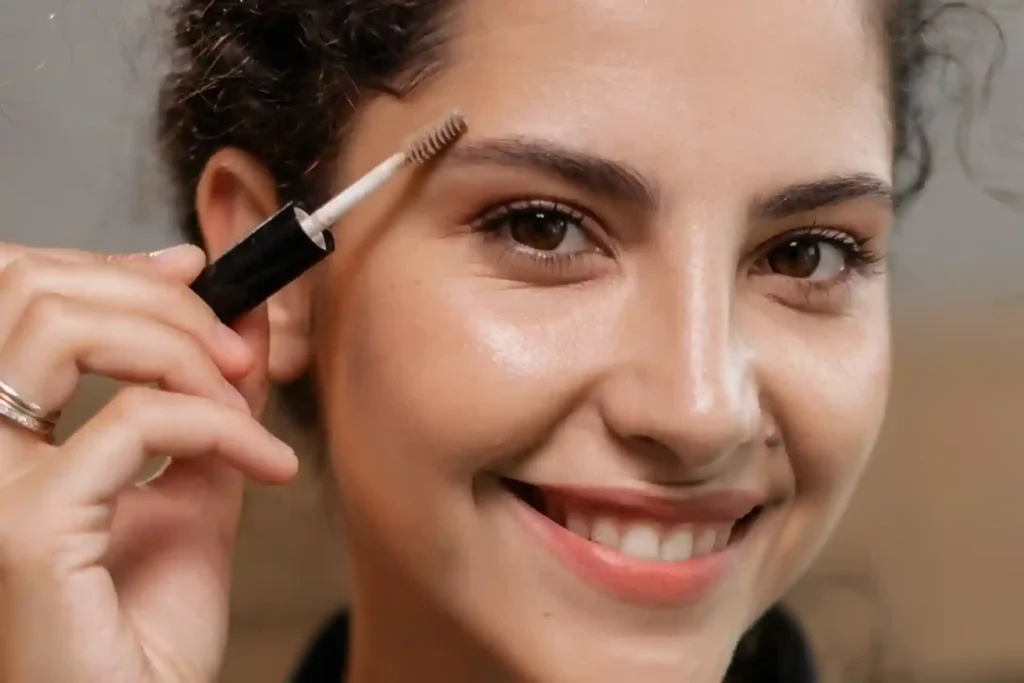
Step 6: Fill And Shape Natural-Looking Brows
Pick The Right Tools
- Brow Pencil or Powder: Choose a pencil or powder that matches your natural brow color. Pencils are good for precise lines, while powder gives a softer look.
- Brow Gel: Use a clear or tinted brow gel to set your brows in place.
Brush Your Brows
- Use a spoolie brush (like a mascara brush) to comb your brows upward. This helps you see the natural shape and shows where you need to fill in.
Outline The Shape
- Bottom Line: Gently draw a line along the bottom of your brow from the inner corner to the tail to define the shape.
- Top Line: Draw a light line along the top of your brow, but start a little further in from the inner corner to keep it looking natural.
Fill In The Brows
- Light Strokes: Use short, light strokes to fill in your brows, following the direction of your natural hairs. Focus on any thin areas, and avoid pressing too hard to keep it looking soft.
- Blend: Brush through your brows again with the spoolie to blend the color and soften any harsh lines.
Shape The Arch And Tail
- Arch: Lightly define the arch of your brow, following its natural curve. Don’t overdo it; keep it subtle.
- Tail: If needed, extend the tail of your brow slightly with a thin, natural-looking line.
Set With Brow Gel
- Apply Gel: Use brow gel to keep your brows in place. Brush the gel upward and outward, following the natural direction of your hairs.
Clean Up The Edges
- Use Concealer: If you want a cleaner look, apply a little concealer around the edges of your brows to cover any mistakes and highlight the brow bone. Blend it well so there are no harsh lines.
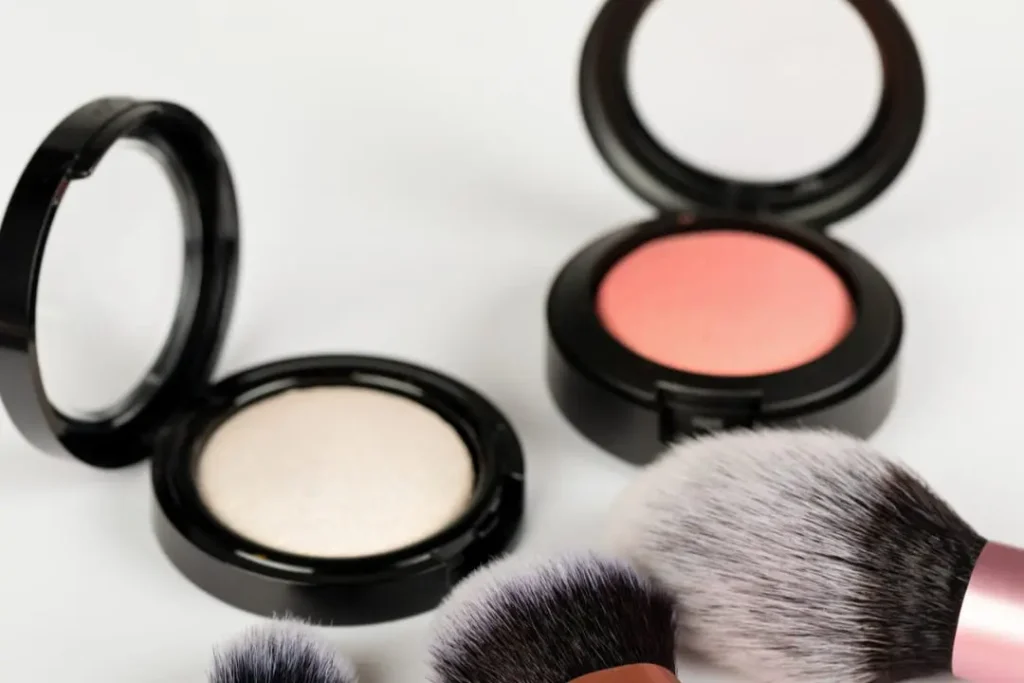
Step 7: Enhance Your Cheeks With Blush And Highlighter
Choosing Blush
Select a blush that matches your skin tone. For light skin tones, peach or pink shades are better, while deeper shades like berry or plum work well for dark skin tones.
Applying Blush
- Step 1: Apply blush to the apples of your cheeks (the part that pops up when you smile).
- Step 2: Blend the blush towards your cheekbones for a natural and lifted look.
- Step 3: Blend the blush in circular motions to avoid harsh lines.
How To Use And Apply Highlighter
Choosing Highlighter
- Choose between powder, cream, or liquid highlighter. Powder highlighter is better for oily skin, while cream or liquid highlighter is suitable for dry skin.
Applying Highlighter
- Step 1: Apply highlighter on top of your cheekbones, where the light naturally hits.
- Step 2: Apply highlighter to your brow bone, nose bridge, cupid’s bow (the area above your lips), and chin.
- Step 3: Blend the highlighter well for a natural glow.
- Blending Blush and Highlighter: Blend both products well to avoid harsh lines and achieve a natural look.
- Using Brushes: Use a fluffy brush for blush and a small tapered brush for highlighter.
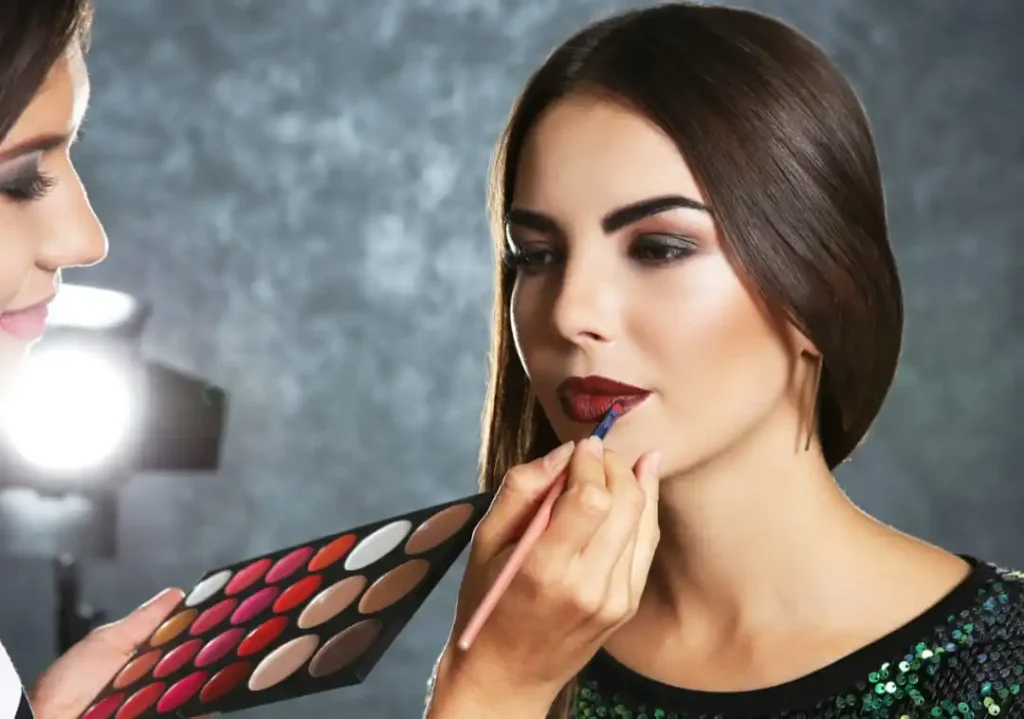
Step 8: Enhance Your Lips Features
Choosing Lip Liner
- Purpose: Defines the lips and prevents lipstick from feathering.
- Color: Choose a shade that matches your lipstick for a seamless look, or go a bit darker for a more defined outline.
- Tip: For a natural look, pick a liner that is close to your lip color. For a bolder statement, go for a contrasting color.
Applying Lip Liner
- Prep: Make sure your lips are clean and dry. Exfoliate if needed.
- Technique: Start by outlining the lips slightly outside your natural lip line if you want fuller lips, or right on the line for a natural look.
- Fill: Lightly fill in the entire lip area with the liner to help your lipstick last longer.
- Blend: Use a lip brush or your fingertip to blend the liner towards the center of your lips.
Choosing Lipstick
- Finish: Decide on the finish you want—matte, satin, or glossy. Matte for long-lasting wear, satin for a bit of shine, and glossy for extra shine.
- Color: Pick a shade that complements your skin tone. For a classic look, try shades that match your natural lip color but with a bit more intensity.
Applying Lipstick
- Apply: Use a lip brush for precision, or apply directly from the bullet.
- Technique: Start from the center of your lips and work outwards. Make sure to cover the lip liner if you use one.
- Blot: Lightly blot with a tissue to set the color and remove excess.
- Layer: For more intensity, apply a second layer of lipstick.
Choosing Lip Gloss
- Purpose: Adds shine and can make lips look fuller.
- Color: Choose a clear gloss for a subtle look or a tinted gloss for added color.
Applying Lip Gloss
- Apply: Use the applicator wand or a brush for precise application.
- Technique: Apply a thin layer over your lipstick or directly on bare lips for a glossy finish.
- Blend: If applying over lipstick, gently blend it into the color to avoid harsh lines.
Step 9: Final Touch With Makeup Setting Spray
- Makeup setting sprays are essential for ensuring your makeup stays in place throughout the day
- Setting sprays are designed to lock in your makeup, preventing it from smudging, fading, or melting. They create a protective barrier over your makeup, ensuring it lasts longer.
- Once you’ve completed your makeup routine, hold the setting spray about 8-10 inches away from your face. Close your eyes and mist your face in an “X” and “T” formation to ensure even coverage.
Personal Opinion
- Personalizing your makeup routine is all about understanding what works best for you.
- Start by identifying your skin type and tone, as this will guide your choice of products.
- Practice makes perfect, especially when it comes to makeup. Don’t be discouraged if you don’t get it right the first time. Try out new techniques and products to see what enhances your features best.
- Watch tutorials, read tips, and most importantly, have fun with it.
- Makeup is a form of self-expression, so let your creativity shine.
- The more you experiment, the more you’ll discover what makes you feel confident and beautiful.
Pros And Cons of How To Apply Makeup In Correct Order
Pros
- Enhanced Longevity: Applying makeup in the correct sequence ensures that each layer adheres properly, making your makeup last longer throughout the day.
- Better Blending: Following a structured order allows for smoother blending of products, resulting in a more seamless and natural look.
- Reduced Smudging: By applying eye makeup before foundation, you can easily clean up any fallout without ruining your base makeup.
- Improved Skin Health: Starting with skincare and primer creates a protective barrier, which can help maintain skin health and prevent breakouts.
- Professional Finish: Using the correct order can give your makeup a more polished and professional appearance.
Cons
- Time-Consuming: Following a detailed order can be time-consuming, especially if you’re in a rush.
- Product Overload: Using multiple products in a specific order can sometimes feel overwhelming and may lead to using more products than necessary.
- Learning Curve: It can take time to learn and remember the correct order, especially for beginners.
- Potential for Mistakes: If you miss a step or apply products in the wrong order, it can affect the overall look and longevity of your makeup.
- Cost: Investing in a variety of products to follow the correct order can be expensive.
FAQ’S
Is setting spray necessary after makeup?
Setting spray isn’t strictly necessary, but it helps lock in makeup. If you want to keep your makeup for a longer period, using it is essential. It is especially useful for long events and also protects makeup from humidity.
Is it necessary to prepare your skin for makeup before applying it?
Yes, it’s important to prepare your skin before applying makeup. It makes the makeup application smooth, helps it last longer, and protects your skin from potential irritation.
What will happen if makeup is not blended properly?
If makeup isn’t blended properly, it will look patchy, uneven, and unnatural. This will highlight imperfections more, and the makeup may appear cakey or harsh.

