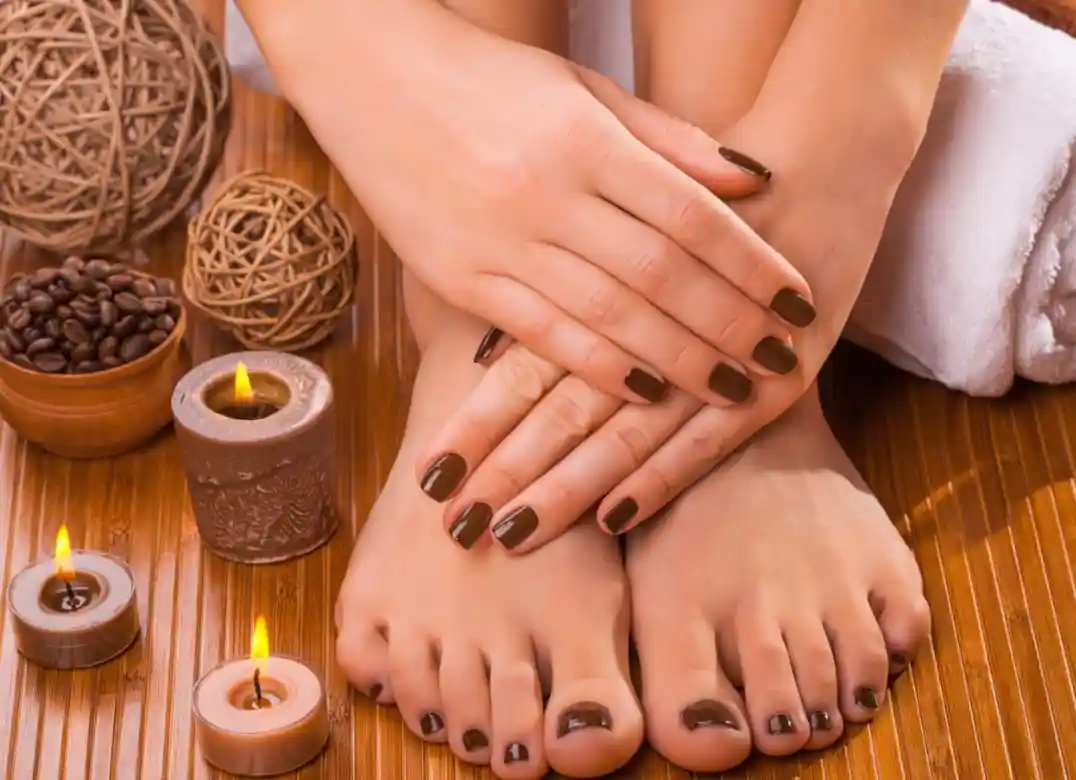
Hands and feet are essential parts of our body, just like the face, they require proper care. In this blog, you will learn in detail how to beautify not only your hands and feet but also your nails health through DIY manicure and pedicure at home without going out. This is especially helpful since not everyone can afford to visit a salon regularly.
What Is Manicure?
- A manicure is a beauty treatment specifically for the care of hands and nails, which helps keep hands beautiful and nails healthy.
- It involves various steps such as shaping the nails, polishing, filing, and clipping.
- Moisturizing the hands and exfoliating the skin are also part of the process, leaving the hands clean, soft, and beautiful.
- Finally, the application of nail polish makes the nails and hands look even more attractive.
What Is Pedicure?
- Just like a manicure, a pedicure is also a beauty treatment specifically for the care of feet and nails.
- It not only makes the feet clean and soft but also improves their health.
- A pedicure involves various steps such as soaking the feet, exfoliating the skin, shaping the nails, etc.
Importance of Manicure And Pedicure
Health And Cleanliness
- Regular manicures and pedicures help maintain the cleanliness of your nails, preventing the buildup of dirt and bacteria.
- This reduces the risk of infections and keeps your nails healthy and strong.
Enhanced Blood Circulation
- The massage component of these treatments improves blood circulation in your hands and feet.
- Better circulation can alleviate pain and swelling, and promote the growth of new, healthy skin cells, giving your skin a fresh and revitalized appearance.
Skin Exfoliation
- These treatments include exfoliating the skin, which removes dead skin cells and prevents the formation of calluses.
- This keeps your skin smooth, soft, and free from rough patches.
Stress Relief
- Taking time out for a manicure or pedicure can be a great way to relax and unwind.
- The soothing process helps reduce stress and anxiety, providing a much-needed break from the daily grind.
Beautiful Appearance
- Well-groomed nails and soft, moisturized skin look attractive and can boost your confidence.
- Whether you’re shaking hands or wearing open-toed shoes, well-maintained nails and feet make a positive impression.
Early Detection of Issues
- Professional nail technicians can spot potential problems like fungal infections, bunions, and corns early on.
- Early detection allows for timely treatment, preventing more serious issues from developing.
Why Manicure Regularly
- Regular manicures and pedicures are not just about looking good, they play a crucial role in maintaining the health and well-being of your hands and feet.
- They offer a relaxing and enjoyable experience that can enhance your overall sense of well-being.
DIY Manicure At Home Simple And Easy Steps
Step 1: Gather Your Tools
- Nail clippers
- Nail file
- Cuticle pusher or orangewood stick
- Cuticle trimmer (optional)
- Nail buffer
- Bowl of warm water
- Hand lotion or cuticle oil
- Base coat, nail polish, and top coat
- Cotton balls or pads
- Nail polish remover
Step 2: Remove Old Nail Polish
- Remove old nail polish using a cotton ball and nail polish remover.
- Make sure your nails are completely clean.
Step 3: Trim And Shape Your Nails
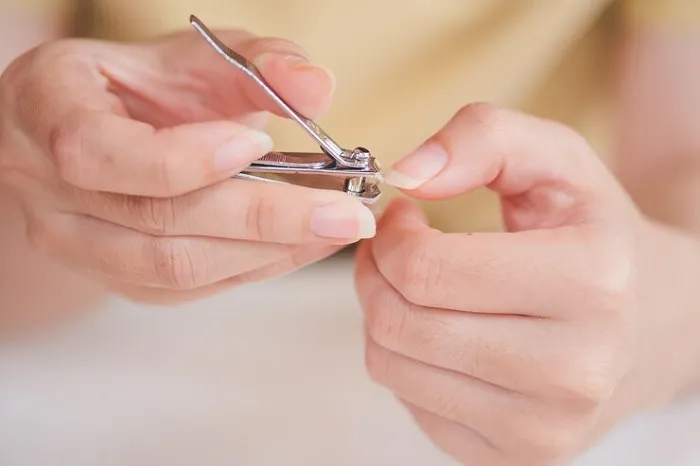
- Trim your nails to your desired length using nail clippers.
- Then, shape the edges with a nail file. For a classic look, try a rounded or square shape.
- Always file in one direction to avoid weakening your nails.
Step 4: Soak Your Hands
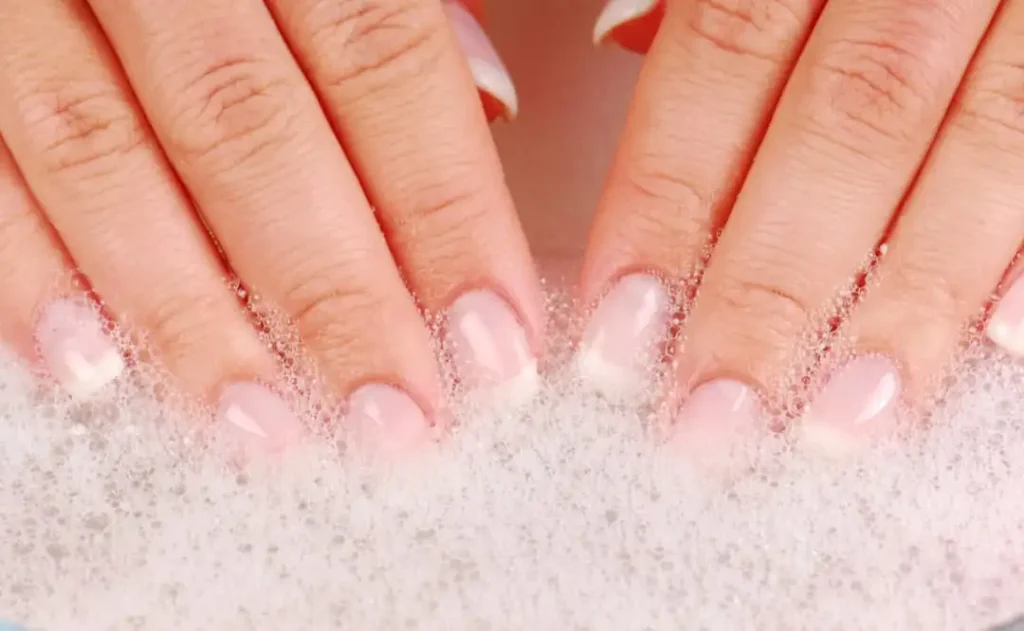
- Fill a bowl with warm water and add a soak liquid or mix in some gentle soap.
- Soak your hands for 5-10 minutes to soften the cuticles.
- You can also add your favorite essential oil for a spa-like experience.
Step 5: Push Back Cuticles
- After soaking, pat your hands dry with a soft towel.
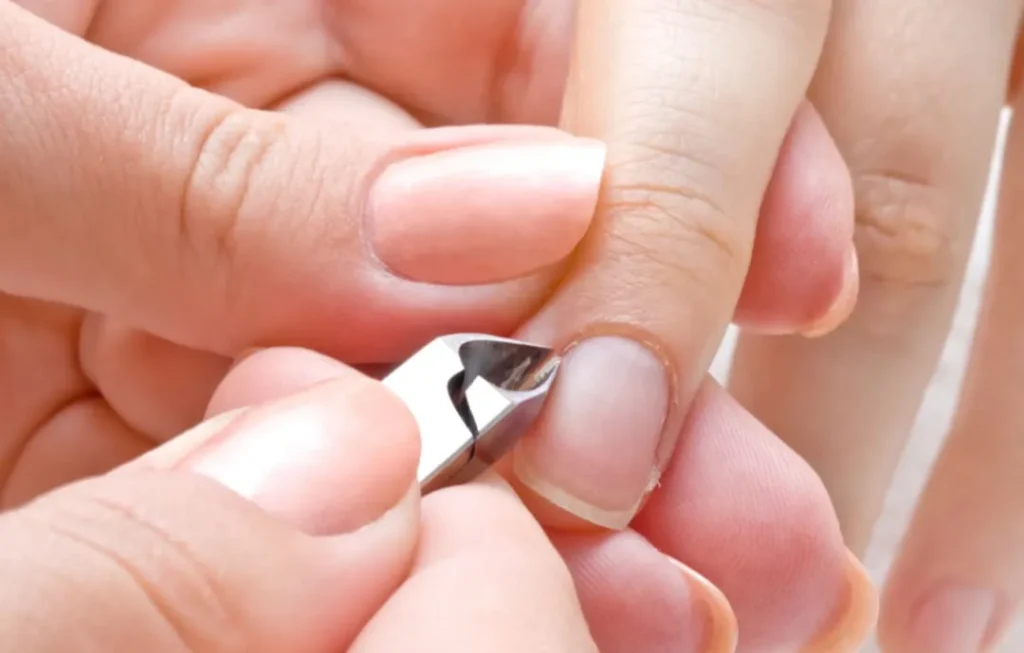
- Gently push back the cuticles using a cuticle pusher or orangewood stick.
- Avoid cutting the cuticles too much as they protect your nails from infection.
- If necessary, use a cuticle trimmer to remove excess dead skin, but this is optional.
Step 6: Buff Your Nails

- Smooth the surface of your nails with a nail buffer.
- Buffing removes ridges and gives your nails a nice shine.
- Be gentle to avoid thinning your nails.
Step 7: Exfoliate Your Hands
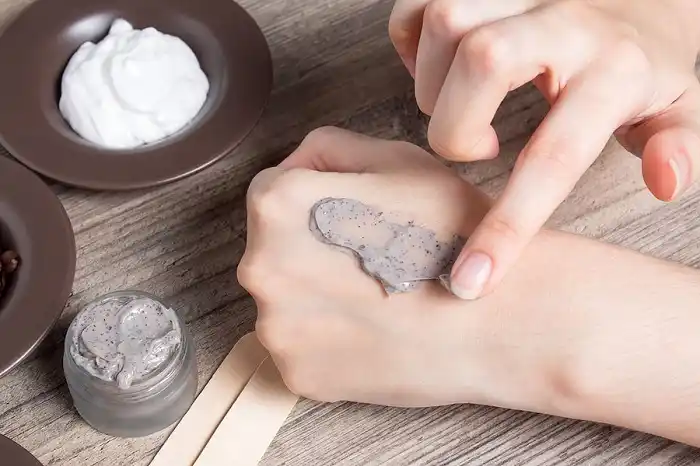
- Take a good scrub and apply a small amount to your hands.
- Rub gently to remove dead skin and bring out the shine.
- Hands exfoliation before moisturizing helps clean your hands thoroughly.
- After exfoliating, rinse off the scrub and pat your hands dry with a soft towel.
Step 8: Moisturize Your Hands
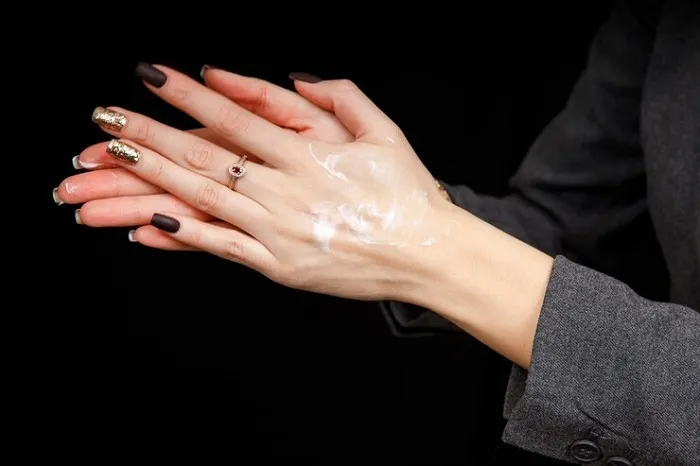
- Generously apply hand lotion or cuticle oil to your hands and nails.
- Massage gently until the lotion or oil is fully absorbed.
- Moisturizing hands is an important part of manicure that will nourish and soften your cuticles and hands.
Step 9: Apply a Base Coat
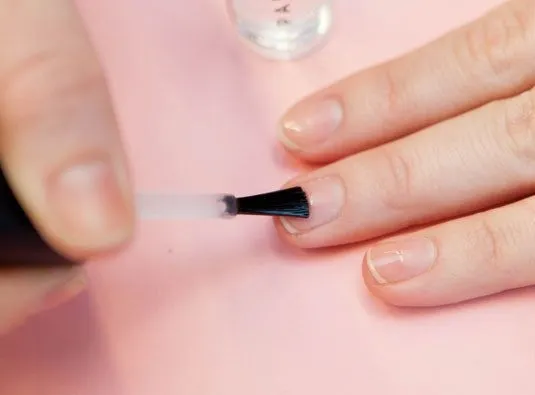
- Before applying nail polish, apply a thin layer of base coat.
- This prevents your nails from staining and ensures a smooth application, giving your nails a shiny look.
Step 10: Paint Your Nails
- Apply your favorite nail polish in thin, even coats.
- Start with a stripe down the middle, then one on each side.
- Let the first coat dry before applying the second coat.
- This prevents smudging and ensures an even color.
Step 11: Finish with a Top Coat
- Once your nail polish is dry, apply a top coat to seal the color and add extra shine.
- The top coat extends the life of your manicure and prevents chipping.
Step 12: Clean Up Any Mistakes
- If you accidentally paint outside the lines, use a small brush or cotton swab dipped in nail polish remover to clean up the edges.
Step 13: Let Your Nails Dry
- Allow your nails to dry completely.
- During this time, avoid using your hands for any tasks.
- This usually takes 15-20 minutes, but it depends on the type of polish.
These simple steps can be done at home by yourself or with the help of someone else. If you have someone else do it for you, the massage and exfoliation steps will be more thorough, leaving your hands even softer and more glowing.
Steps of Pedicure
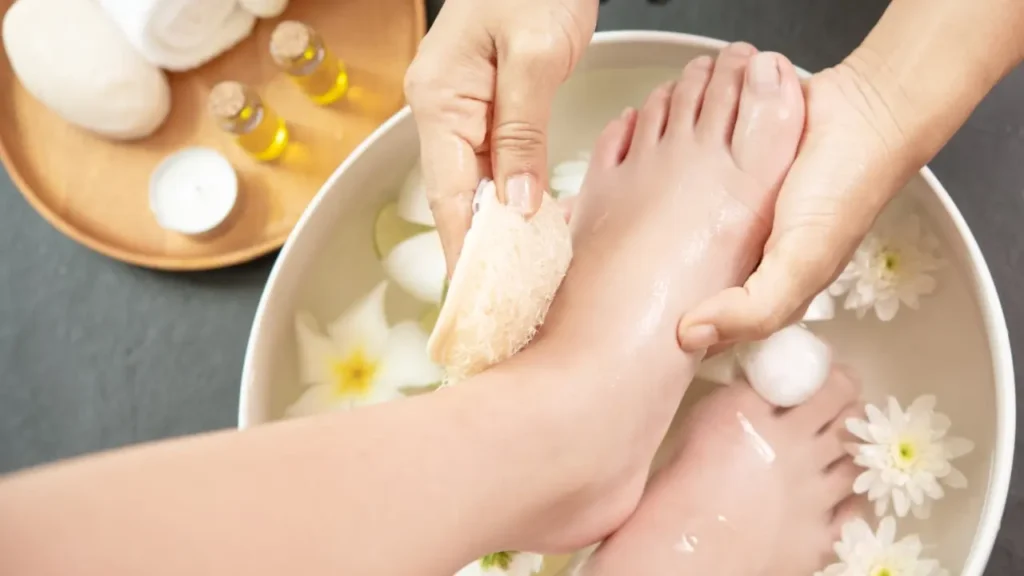
Strep 1: Preparation
Tools
- For a home pedicure, you’ll need some basic tools like nail polish remover, cotton pads, nail clippers, a nail file, a pumice stone, foot scrub, cuticle pusher, moisturizer, base coat, nail polish, and top coat.
Step 2: Prepare Soak Water
- Fill a tub or bucket with warm water.
- Make sure to check the temperature so it’s not too hot.
- Add a bit of shampoo or foot soak to the water.
- If you like, you can also add a few drops of your favorite essential oil, such as lavender or tea tree oil, which helps in relaxation.
Step 3: Remove Nail Polish
- Remove any old nail polish using a remover and cotton pads.
- This is important to ensure your nails are clean and fresh.
Step 4: Foot Soak
- Soak your feet in the warm water for 10-15 minutes.
- This step is very relaxing and helps to soften your feet.
- It also loosens dead skin cells, making them easier to remove.
Step 5: Remove The dead Skin
- Gently scrub your feet with a pumice stone or foot file, especially around the heels and toes.
- Massage your feet well with a foot scrub in circular motions to improve blood circulation.
- Then rinse your feet with water and dry them with a soft towel.
Step 6: Trim And Shape Your Nails
- Trim your toenails with a clipper.
- Cut the nails straight to avoid ingrown nails.
- Use a nail file to shape your nails as desired, ensuring they are smooth and even.
Step 7: Push Back Cuticles
- Gently push back your cuticles with a cuticle pusher.
- If necessary, trim any excess cuticles with a cuticle nipper.
- Be careful with this step to avoid injury.
Step 8: Give Massage And Relax your Feet
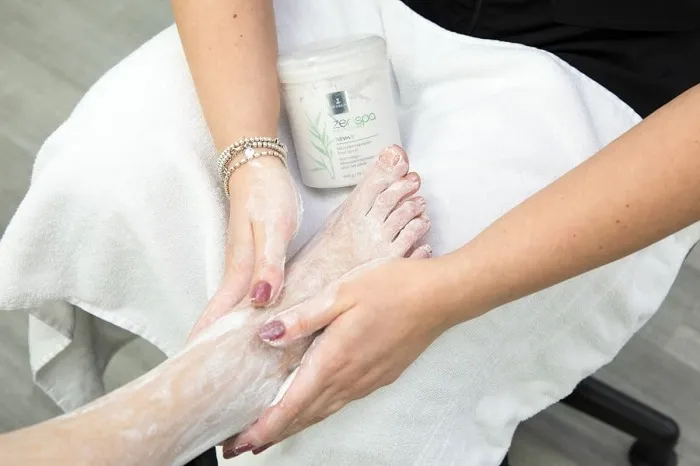
- Dry your feet with a towel and then massage them well with a moisturizer or foot cream.
- This step keeps your skin hydrated and soft.
- You can also use a thick cream or petroleum jelly if your skin is very dry.
Step 9: Prep For Polish
- Before applying nail polish, remove any excess lotion from your nails using a cotton pad with a bit of nail polish remover.
- This will ensure the polish adheres properly.
Step 10: First Apply Base Coat
- Start with a base coat to protect your nails and help the polish last longer.
- Choose Your Favorite Polish Color For a smooth look, apply two coats of your chosen nail polish color. Apply the first coat and let it dry before applying the second coat.
- Apply Top Coat for a Shiny Look Applying a top coat adds shine to your nails and smooths away any flubs and flaws, ensuring the polish stays on longer and doesn’t chip easily.
- Just one coat is enough. To quickly refresh your manicure /pedicure throughout the week, add another layer of top coat.
Step 11: Clean Up And Dry
- Use a small brush or cotton swab dipped in nail polish remover to clean up any polish that may have gotten on your skin.
- Let your nails dry completely, which may take around 15-20 minutes.
Step 12: Final Touch
- Once your polish is completely dry, you can add a bit more lotion to your feet or apply cuticle oil to your nails for extra nourishment.
Step 13: Enjoy Your Soft And Beautiful Feet
- Now you can enjoy your freshly pampered feet! To keep them looking good, moisturize daily and consider doing a pedicure every few weeks.
Personal Opinion
Achieving salon-quality manicures and pedicures at home is both simple and cost-effective with the right steps and tools. take some time to pamper yourself and enjoy the benefits of a professional manicure and pedicure from the comfort of your home.
Pros
Cost-Effective
- Doing your own manicure and pedicure at home saves money since you won’t have to pay for salon services.
Convenient
- You can do it at any time that suits you, without the need to make an appointment or travel to a salon.
Customizable
- You have full control over the products and tools you use, allowing you to tailor the experience to your specific preferences and needs.
Relaxing
- A DIY manicure and pedicure can be a therapeutic and relaxing self-care activity, especially when done in the comfort of your home.
Hygienic
- You can ensure that all tools and products are clean and safe, minimizing the risk of infections or allergic reactions.
Cons
Time-Consuming
- A DIY manicure and pedicure can take longer than a professional service, especially if you’re not very experienced.
Lack of Professional Expertise
- Without professional training, you might not achieve the same level of precision and quality as a salon service.
Limited Resources
- You may not have access to the same high-quality products or tools that a salon would offer, which could impact the final results.
Messy
- Doing your nails at home can get messy, especially when applying nail polish or dealing with cuticle care.
Potential for Mistakes
- If you’re not careful, you could make mistakes, like cutting your cuticles too much, over-filing your nails, or applying nail polish unevenly.
FAQ’s About DIY Manicure And Pedicure At Home
Is it okay to do a pedicure with cold water?
Absolutely, you can do a pedicure with cold water, but it won’t soften the skin as well as warm water. Cold water refreshes the skin, but it doesn’t allow for proper soaking, which means dead skin might not be removed effectively, resulting in less optimal pedicure results.
How do I care for my cuticles?
Gently push back cuticles using a cuticle pusher. You can also use cuticle oil to keep them moisturized.
How to take care of your hands or feet after a manicure or pedicure?
After a manicure or pedicure, keep your hands or feet moisturized and avoid harsh chemicals. Wear gloves or socks to protect them from damage.

